EMMA FREEMAN
SPECIALIST PRACTICE
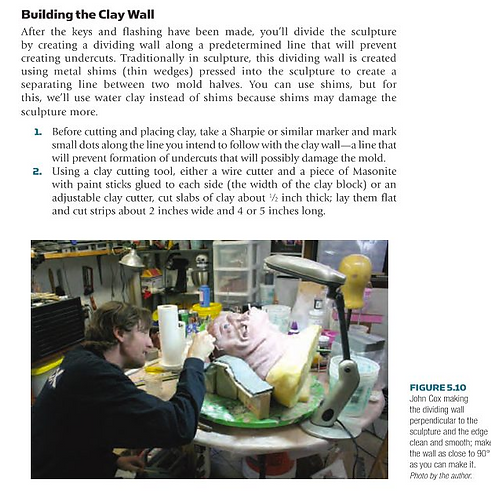
To calculate the deadener needed I used this silicone calculator. As my first bald cap felt too soft for a head (100%) I added a smaller percentage for the second fill 60%.
I marked more bleeder holes where the silicone made an air bubble to release the air when I injected. I also used more le beau touche along the whole side of my fiberglass half to create a tighter lock in my mould. To make sure it was flush I put the mould together without my core and smoothed it down so that it was the exact amount needed to fill the gap I had in my seam. To stop any leakage of silicone from my mould I used a hot glue gun to close up any gaps around it. As I also drilled more holes closer to my sculpt to create a tighter lock when they had been bolted together. Due to the problems I had at the start of fiberglassing I knew I would inevitably occur problems. At this stage of my project I had no other option to try and fix these issue as best as possible. If I had more time and I was in a professional industry I would have started my mould again to make it to a professional standard.
An important error I made during my first fill was painting on the cap plastic onto my core. After anayising my bald cap and the cap plastic edges I noticed the piece was not fully encapsulated. For my next fill I painting cap plasted on to the two halves of my mould, and my core. I painted this on with a soft bristle brush as an attempt to not disturb my release layers. I pushed the injection pipe much slower to try and reduce any air bubbles getting in. I also practised mixing skin tones and added less pigments to the mix to avoid over pigmenting. For this mould I drilled some more bleeders for the air to escape. I kept the le bouche clay around the mould as this seemed to work well in preventing the silicone from leaking.
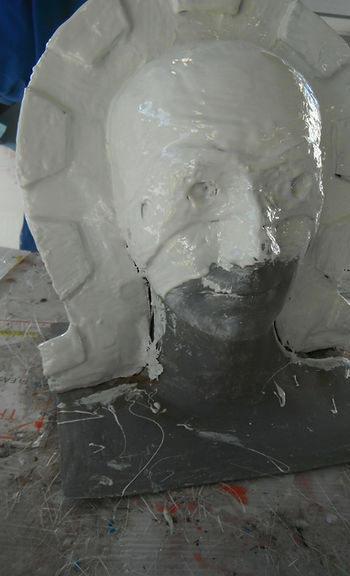
The end result was not expected, as the bald came out worse than the first one. This is possible due to the copper pipe coming away from the hole in the fibreglass mould hlaf way through injecting. I secured this with car body filler but the movement and pressure of the injection knocked it out of place. I had to leave the silicone and hope that gravity would pull it through. As you can see from the photos I have a very large air pocket from this and a rip where it became too weak where the seam was.
For my next fill I plan to drill one more injection hole at the back of the neck where it is not filling, add more bleeder holes, and build double the amount of car body filler around the pipe , As these tests are becoming very costly I have to make changes and potentially treat the third fill as my last in order to stay within budget and also within my time frame.
I used a plunger for the first batch of silicone and then let gravity take its course to fill the mould. I found it very difficult to mix the colours as the silicone pigments were very pigmented it was easy to over pigment it which is what I have done here. I have a few tiny air bubbles at the front and also the mould hasn't filled fully at the back, this is possible due to the bleeder holes being too small or not enough. For my next fill I will make some more bleeders and also pop a pin through them all to make sure the cap plastic has not covered them. During filling I also noticed a lot of silicone leaking from my mould. To stop this leakage I had to quickly block it up with wed clay. For my next fill I plan to fill these gaps with a hot glue gun
Initially I found it difficult to see Lukas' skin tone, this technique really helped me to understand his skin tones a little better. I learnt that he had a lot of green and blue undertones to his skin as his face is the darkets in these colour swatches. I decided to use a flesh tone as a base for my colours and add in a little green and blue to this.
Despite knowing I had to make changes to my mould, I still wanted to see if it would fill fully, I had a small amount of gelatin left so decided to try one last time. After evaluating my moulds I should have made the amendments to it after the first fill. I knew a lot needed to be changed however I think I just lost confidence in doing so and felt like even after my amendments it still may not work. It was not neccessary to test 3 times in gelatin but the costs of running in silicone concerned me. On a positive note, this third run I had very fine edges which was promising. After my third run I researched more into injection moulds and started my tests in silicone
Images below left:
gaps filled in with choppy stands. Fiberglassing 2 layers. The edges were chopped before fully cured and sanded to remove sharp edges
Images right:
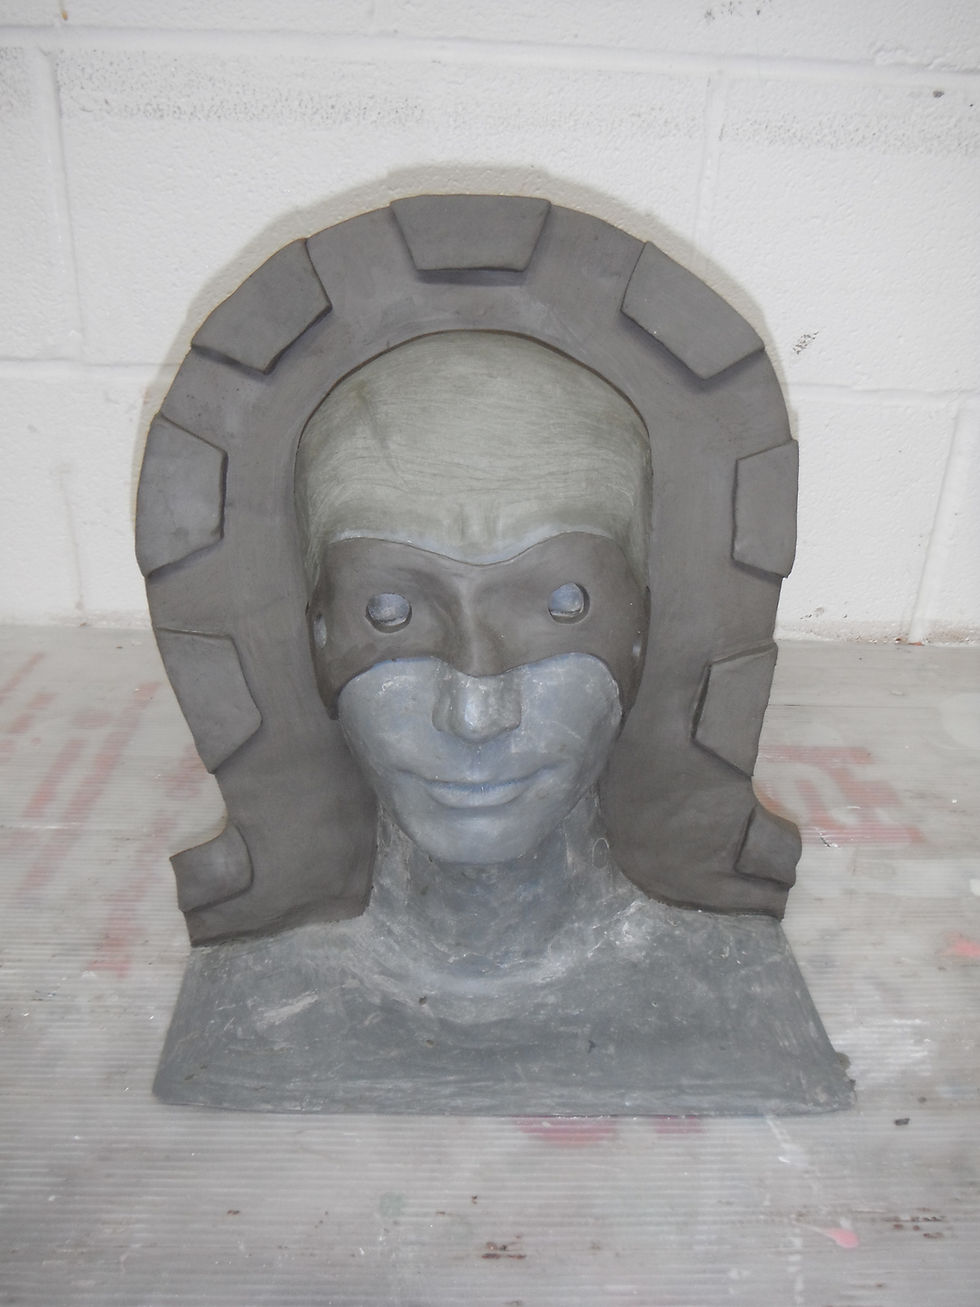
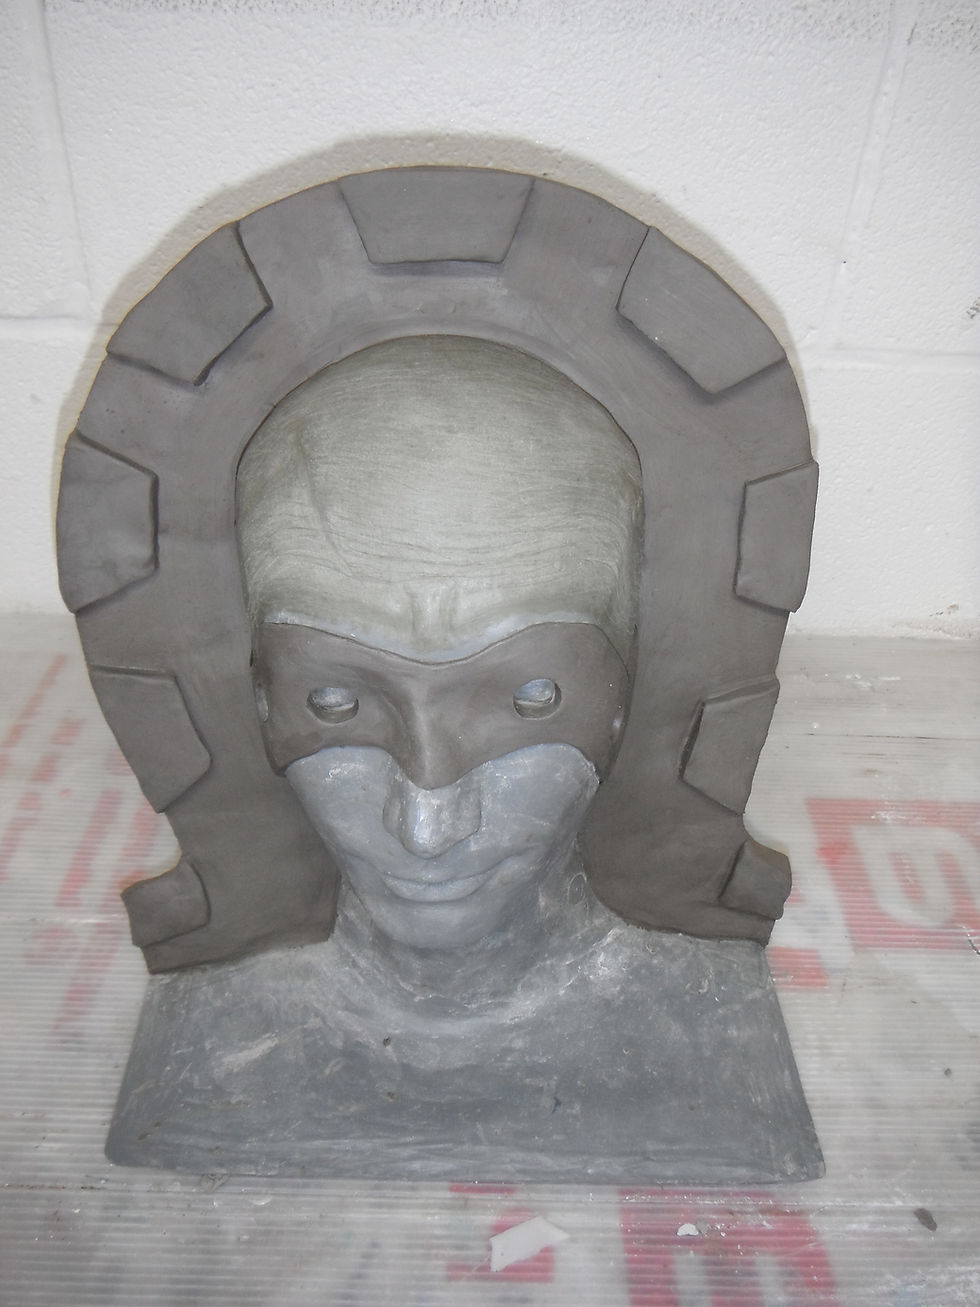
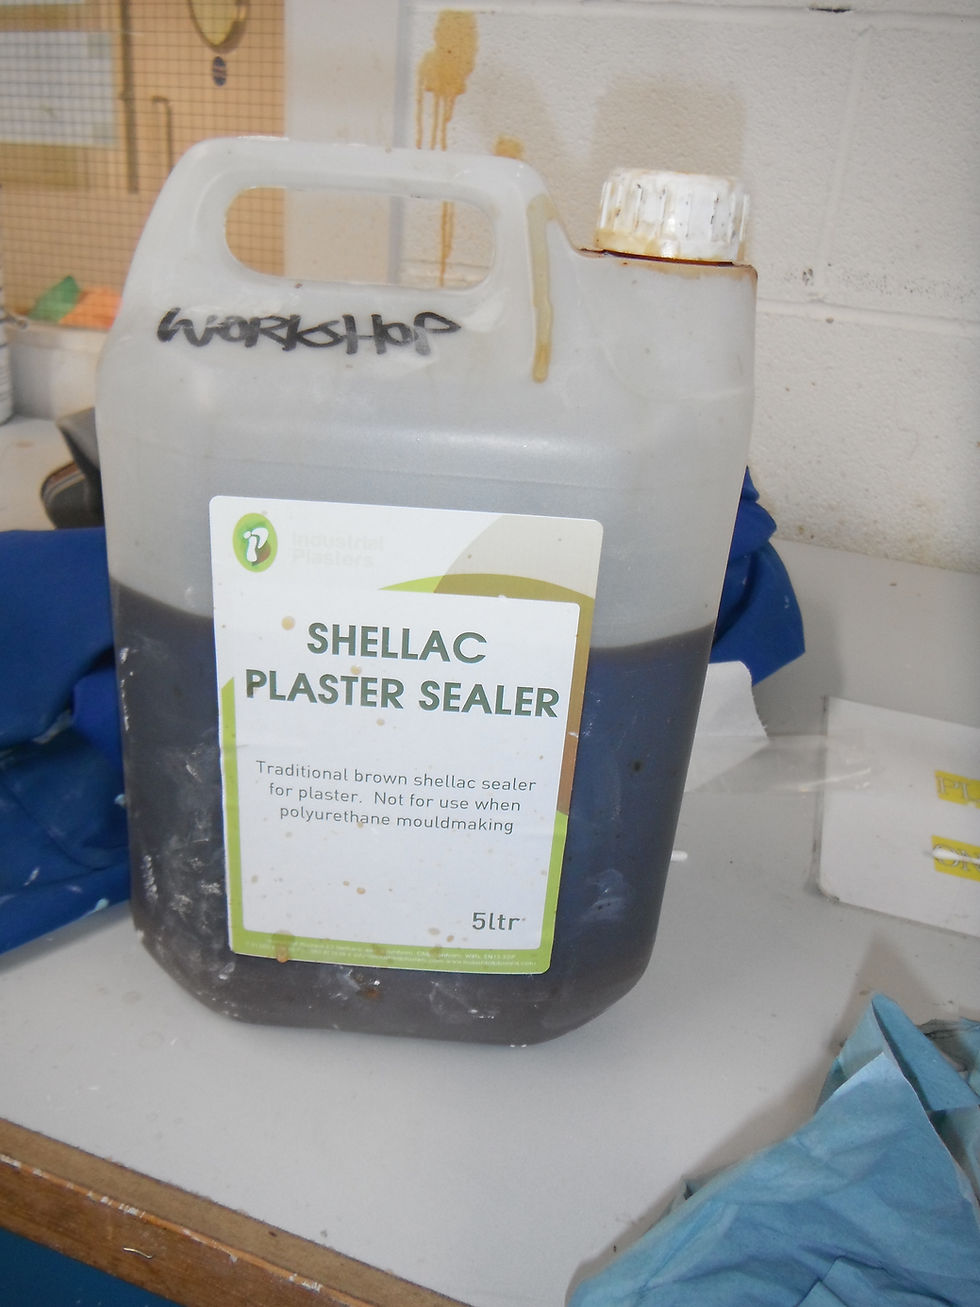
clay wall cleaned up, flashing painted with shellac. First half release with 3 layers of pva before fiberglassing the second half. I made sure to weigh out both of the clays as this would equal the amount of silicone I would need.
Before fiberglassing I sealed the clay with shellac and released my mould with mirror glaze. I painted this on and buffed until it became a matte surface and repeated three times as instructed on the tin. I sprayed my sculpt with MACWAX as a release. I pigmented my gel coat white so that I could differentiate between the two halves
I made sure to create my clay wall on a slant to allow the seamline to be further back so it is less obvious, I knew I would be covering this seamline with punched hair so although I wanted an invisible seamline I was able to cover this with finely punched hairs if it was not perfect
Flashing:
-
thinly placed (1/8 to 1/4 inch) over the exposed areas of the mould and trimmed 1/8 to 1/4 from the edge of the sculpture for your appliance
-
flashing is to create space for excess appliance material to escape when the mould parts are clamped together
-
the flashing is to create the ultrafine edges that will blend easily into the skin
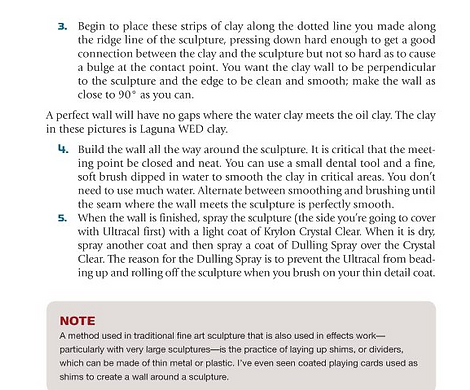
Building clay wall:
-
a dividing line that will prevent undercuts
-
traditionally in sculpture, the dividing wall is created using metal shim (thin wedges) pressed into the sculpture to create a separating line between two mould halves
-
shim may damage the sculpture more
-
press your clay wall onto your sculpture without damaging it
-
clay wall needs to be perpendicular to the sculpture and the edge to be clean and smooth
-
the wall needs to be at a 90 degree angle
-
a perfect wall will have no gaps between the water clay and the oil based clay
-
you can use a dental tool and small brush with water to create a neat line
-
spray the sculpture with two coats krylon crystal clear before the ultracal. And then dulling spray over the crystal clear. The dulling spray prevents the ultracal from beading up and rolling off the sculpture when you paint your thin detail coat
MOULDING SILICONE BALD CAP
 |  |
|---|---|
 |  |
I knew the moudling part to my sculpt would be the most important to get right. I spent a long time creating my flashing and clay wall to make them as neat as possibles so that I did not occur problems during the fibreglassing stage. After researching in the steps and from second year study I made flashing around my sculpt and a clay wall. I became too preoccupied with the tidyness of my wall that I lost track of where it should finish. I made a mistake with the flashing and brought it alongside my clay wall. I cut this off so that the flashing finished around my sculpt

 |  |  |  |
|---|---|---|---|
 |  |
NEIL GORTON CHARACTER PROSTHETICS IN SILICONE PART 3
-
bolt holes need to be 20mm away from your sculpt the whole way around, you want an even pressure the whole way around your sculpt so that there is no gaps in between the edge and the seamline
-
Talc is dusted over the sculpt after the wax and lacquer, this gives the gel coat a surface to adhere to. The fine glass matte is applied first over detailed areas to prevent any air bubbles from forming on the surface of the mould. The fibreglass strand matting is thicker and will not fold into the detailed areas as easily
-
always drill your holes before you pop the mould apart for accuracy in your seam line, if you wait until after the mould will never line up as accurately
-
Putting all of the plaster line and wax into a cup will allow you to see how much silicone you need
-
A hole is drilled at the top of the head to attach the tube from the inside (aluminium) and then a larger tube is used around that and attached with car body filler. Car body filler is also used at the base o the neck to keep the larger tube in place
-
Cheap latex free sponges are used to stipple A and B all over the mould and the core, once a layer has been stippled, take a clean sponge and remove any excess silicone, you want a thin matte layer

I realised it was very important to fibreglass straight after creating the clay wall as the clay begins to dry out. I made my clay wall the evening before and used wet paper towels to keep the moisture in. However, I found the clay wall did start to come away from my sculpt. Before fibreglassing I put pressure on the wall to remove the gap and presse down on the clay behind to create a tight seal.


Due to workshop opening times I was not able to fibreglass straight after gel coating. In the morning my clay wall had began to come away from my sculpt. This was very disappointing. I decided to fill these gaps with a fiberglass paste made from resin and chopped strands of fiberglass. I knew this would inevitably cause problems with my mould, but I had no other choice other than to fill in the gaps and continue. For future reference I feel all the steps should be done on the same day to prevent the clay from drying out, this was difficult for me as I spent too long creating the wall. Now I have had some practise in this I feel the second time around I will be able to master the process with a greater sense of confidence and informed knowledge.
 |
|---|
 |
 |
 |
 |
 |
 |
|---|
 |
 |
 |
SILICONE INJECTION
 |
|---|
 |
 |
 |
 |
 |
 |
INJECTION FILL 1 (GELATIN TEST)


I drilled holes around my mould for the bolts to be tightened. For my injection hole, I used a photo (shown at top of page) as reference and drilled at the highest point into my fiberglass half. After the unsuccessful attempts I came to realise I should have drilled my hole from the core for a gravity pour mould.
To keep costs down I tested my piece first in gelatin. I pigmented this with a felsh colour foundation and I used yellow and red flock to resemble a more skin-like appearance. I used a copper pipe to inject with and drilled an injection hole the exact same size for a tight fit. I made sure my injection syringes also fitted the pipe before securing with car body filler.
I filled both syringes (using the measurements taken from my clay) and injected. I left this for 30minutes before releasing. The gelatin had not filled all of my mould and also started to seep up into the flashing which I saw as a potential major problem. I wanted to test this again but this time I used 200g more gelatin
 |  |
|---|---|
 |  |
 |
INJECTION FILL 2 (GELATIN)
My second test I occured a large air bubble. I discovered I had not put enough bleeders in my mould. I drilled the 1mm holes which I decided would be too small. To improve these bleeders I plan to drill them slightly bigger.
During this test I also began to reconsider my injection hole. I realised I should have drilled the hole from my core. This error can be fixed by filling in with car body and drilling another hole.
This attempt reached my flashing but not all of it


 |  |  |  |
|---|---|---|---|
 |  |
A hole is drilled into the core at the thickest point of the sculpt. A brass tube is fitted with car body filler. A syringe is laid into the injection tube but not plunged, gravity works the silicone into the mould and it gradually fills. As the silicone fills up the sides of the piece you will see it come through the bleed holes. It may be necessary to block them with clay after a few minutes
STUART BRAY-GRAVITY POUR
 |  |  |  |
|---|---|---|---|
 |
Use 100g more silicone than you think you need to account for the pour tube and flash. For larger pieces you do not want to go above 200% softener. Up to 230% for smaller flat piece appliances
Start with a basic flesh tone pigment and begin adding blue and green to the mix. Once you have plunged the syringe, remove the body of it and allow the material to flow freely into the mould. Silicone mix A&B is injected aroumd the flashing areas, the mould is then submerged in water
stuart bray (2015) UMAE makeup demo - update. Available at: https://www.youtube.com/watch?v=u13u6IpAhm8 (Accessed: 30 December 2015).
NEIL GORTON CREATING CHARACTER PROSTHETICS PART 4
Gorton, N. (n/a). Creating character prosthetics in silicone: Part 4. [DVD] Neill Gorton Prosthetic Studios

HINTS&TIPS:


Debreceni, T. (2009) Special makeup effects for stage and screen: Making and applying Prosthetics. United Kingdom: Focal Press.
SILICONE FILL 1
 |
|---|
 |
 |
 |
 |
 |
 |
 |
|---|
 |
 |
 |
 |
 |
 |
MATCHING SKIN TONE
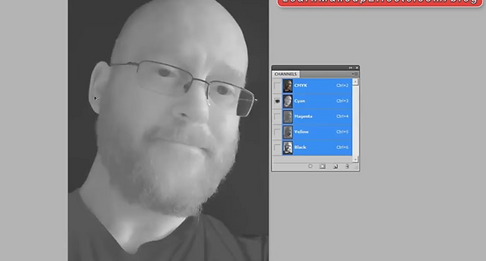
Using channels in photo shop to match skin tones:
-
RBG file means it is displaying red greens and blues
-
where its darker it shows where there is more of it (select a colour, for example selecting blue they will look very dark as the eyes are blue)
-
it gives you an indication of where you need to put the colours
-
this method helps you to break up the colours of a photograph, if you are finding it hard to see the colours and their placement.

-
a larger pipe used (bigger injection hole by approx 2mm). I felt a larger hole would allow more silicone to pour through at a faster rate without curing before it had reached all the areas in the mould
-
2mm bleeder holes added at the end of the sculpt above the eyebrow and around the neck
-
4 layers of cap plastic (ratio 3:1) painted on after release. This was left to dry naturally or with a cool heat to prevent any air bubbles from forming
-
release of petrolium jelly rubbed in with excess removed with a cloth. MACWAX was sprayed after this
-
I wanted to prevent the silicone from seeping out of the mould as it had done in my gelatin fill. See photo to right. I used le bou touche a soft clay to try and close this gap. I wanted the two halves to be able to squidge together, NSP or monster clay may have become too hard for this
stuart bray (2015) Using channels in Photoshop to help match skin tones. Available at: https://www.youtube.com/watch?v=xWYVLS5UgRM (Accessed: 31 December 2015).
Here you can see a lot of dark in the beard (colour selected is yellow) this is because there is a lot of yellow in his beard. You can also see some in his skin tone
It shows a map of where the cyan is. Eyes are dark as he has blue eyes
 |  |  |
|---|---|---|
 |
 | |
|---|---|
|
SILICONE FILL 2/PROBLEM SOLVING
 |
|---|
 |
 |
 |
 |
 |
 |
 |
SILICONE FILL 3/SOLUTIONS
 |  |
|---|---|
 |  |
 |  |
 |  |
 |  |
 |  |

Colour is too opaque and too green. For my next attempt I need to add the smallest amount of pigments gradually and test the translucency with a dot on the end of a stick.
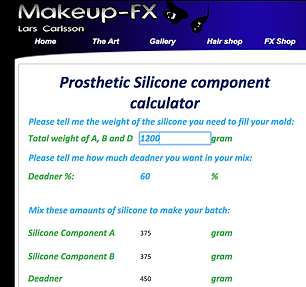
Carlsson, L. (no date) Makeup-FX.com special makeup effects and wigs by Lars Carlsson, Gothenburg, Sweden. Available at: http://www.makeup-fx.com/calc.html (Accessed: 1 January 2016).
EVALUATION
despite occuring several problems along the process of making my bald cap, I would like to evaluate it as a success as I have a piece from my mould (although not perfect) and I have learnt a great deal throughout making it. I found the whole process of trial and error with the mould completely deflating as each fill I encountered at least one problem. The most valuable note to take from this is to understand why the problems are happening, and what can you do to mend them? This project allowed me to problem solve from start to finish, enabling me to learn a great depth in the mould making process. At the time in present it was difficult to see any positive from the issues I came across, nevertheless, now I have the chance to evaluate it I realise the techniques I have learnt and the skills I have improved from mixing silicone flesh tones to injection filling.
For future reference I need to research in depth the methods I need to undergo to make my prosthetics, and the different avenues I could take. I do believe I took a lot of risks for his project, and although I would approach it differently a second time around I am happy to have taken those rirks and pushed boundaries as learning visually and from your own mistakes is the most effective learning tool. It is easy to pick up a book and watch DVDs but it is not until you actually try for yourself that you start learning and are able to begin to start improving. This is my aim for final major project, I aim to research more indepth, continue to take risks but start to show my improvements at the highest level of attainment.

-
Begin mixing flesh tone by turning orange into brown
-
Add equal amount of yellow and red to create a bright orange
-
Add a dab of blue to make it less saturated and into a rich brown
-
Squeeze some blue onto a piece of paper and dab with a mixing stick, this is to prevent too much adding to the mixture
-
Too much blue and it will look dull ashy brown, too little blue it will look like a bright fake tan
-
Tip- take a little amount from your mix and mix a little white, this way you’ll be able to see the variations of your flesh tone without messing up your original base
-
Make small adjustments by adding yellow or red. Yellow=more olive red=ruddy/violet
-
You can create a full range of dark flesh tones without ever adding white
-
For creamier, fairer flesh tone tint base colour with white, add it gradually
-
Skin is rarely made up of one colour- once applied you’ll most likely be adjusting it with spattering’s of olive/golden tones for freckles red/ruddy tones. Maybe blues and reds around the eyes